
How to do 3D Rendering for Interior Design?
Learn the basics of 3D rendering for interior design to create realistic visuals, improve presentations, and impress clients.

Creating compelling interior designs today is not just about great ideas, it is about how well you present them. This is where 3D rendering becomes a game changer.
Whether you are working with clients, architects, or your own portfolio, high quality visuals help bring your concepts to life before a single piece of furniture is placed.
3D rendering in interior design is the process of turning a 3D model into a realistic image. It combines lighting, materials, textures, and camera composition to simulate how a space will actually look in real life.
Instead of relying on flat drawings or mood boards, you can showcase a fully realized environment with accurate lighting, shadows, and finishes.
The importance of 3D rendering goes beyond just aesthetics. It improves communication, reduces design errors, and helps clients make faster decisions.
You can test different layouts, materials, and lighting setups without costly changes on site. For professionals, it also adds a strong competitive edge, as clients naturally gravitate toward designers who can clearly visualize the final outcome.
In this guide, I will walk you through how to approach 3D rendering for interior design step by step, from setting up your scene to achieving realistic final outputs.
How to Do 3D Interior Rendering for Interior Design?
Before jumping into the actual process, it is important to understand the technical foundation behind 3D rendering.
The first step is choosing the right software based on your workflow and goals.
Tools like Autodesk 3ds Max, SketchUp, and Blender are commonly used for modeling, while render engines like V-Ray, Corona Renderer, and Lumion handle lighting and final output.
Along with software, having a basic understanding of materials, lighting behavior, camera settings, and render optimization is essential to achieve realistic results.
Once your tools and basics are in place, the workflow becomes much more structured. From here, we will break down the entire process step by step, starting with setting up your scene and building a strong foundation for your render.
Step 1 – Define the Design Concept
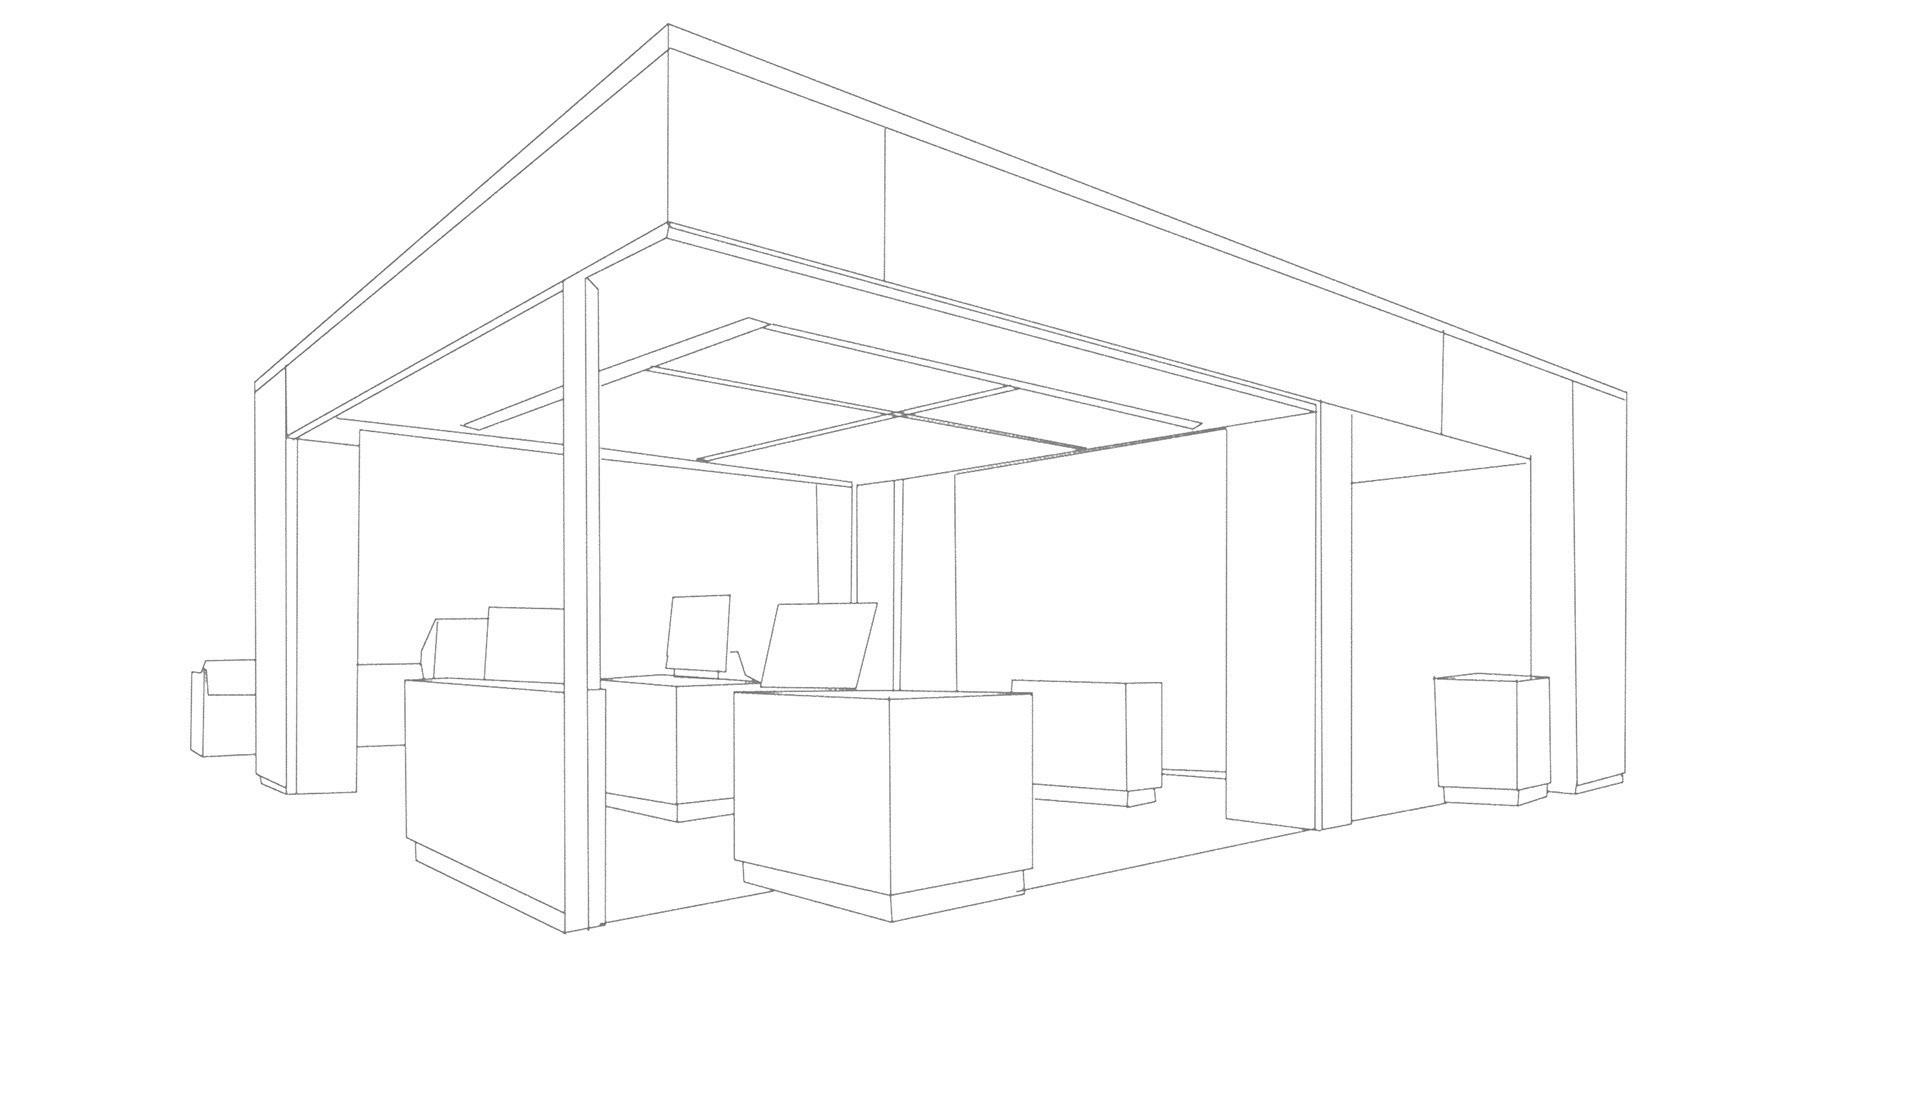
Image credit: Sentinel Design
Start with a clear creative direction before opening any 3D software:
Create rough sketches or digital concept drawings
Build mood boards with materials, colors, and references
Identify focal points and key areas of the space
Decide the overall style, lighting mood, and atmosphere
Tools you can use: Procreate, Adobe Fresco
Step 2 – Model the Space in 3D
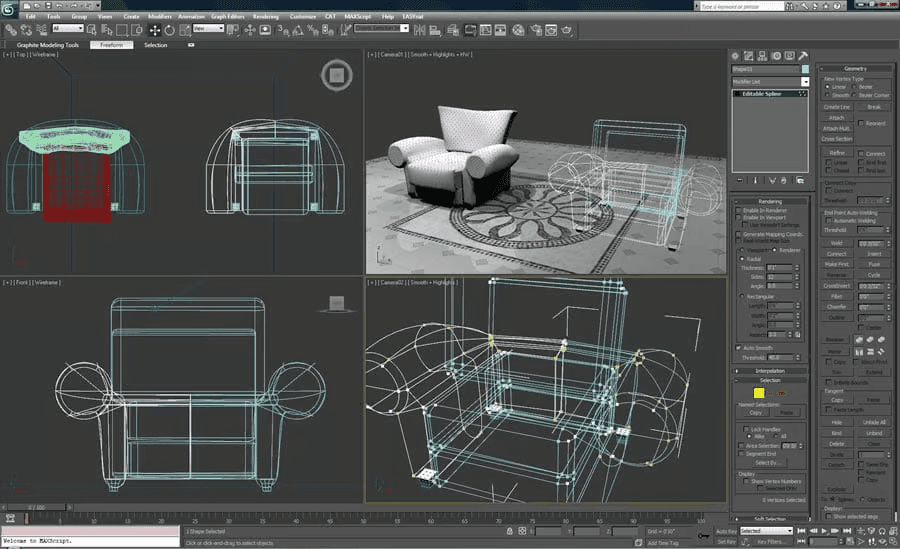
Image credit: G2
Build the foundation of your scene with accurate modeling:
Start with basic structure like walls, floors, and ceilings
Add architectural details such as trims, panels, and openings
Maintain real world scale and proper proportions
Keep geometry clean and optimized
Common mistake: Ignoring ceiling design and thickness
Step 3 – Apply Materials and Textures
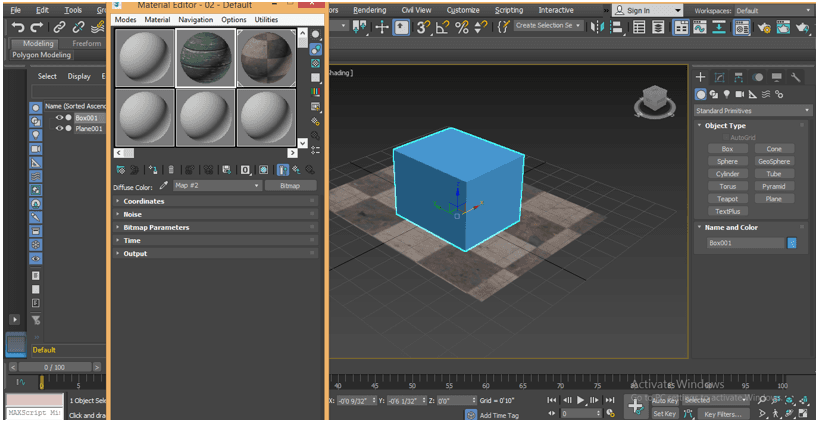
Image credits: Educba
This is where your model starts to feel real:
Assign materials based on real world references
Use high quality textures with proper scaling
Adjust reflection, roughness, and bump maps
Avoid overly perfect surfaces, add subtle imperfections
Tools like Adobe Substance 3D can help achieve realism
Step 4 – Stage the Scene with Assets
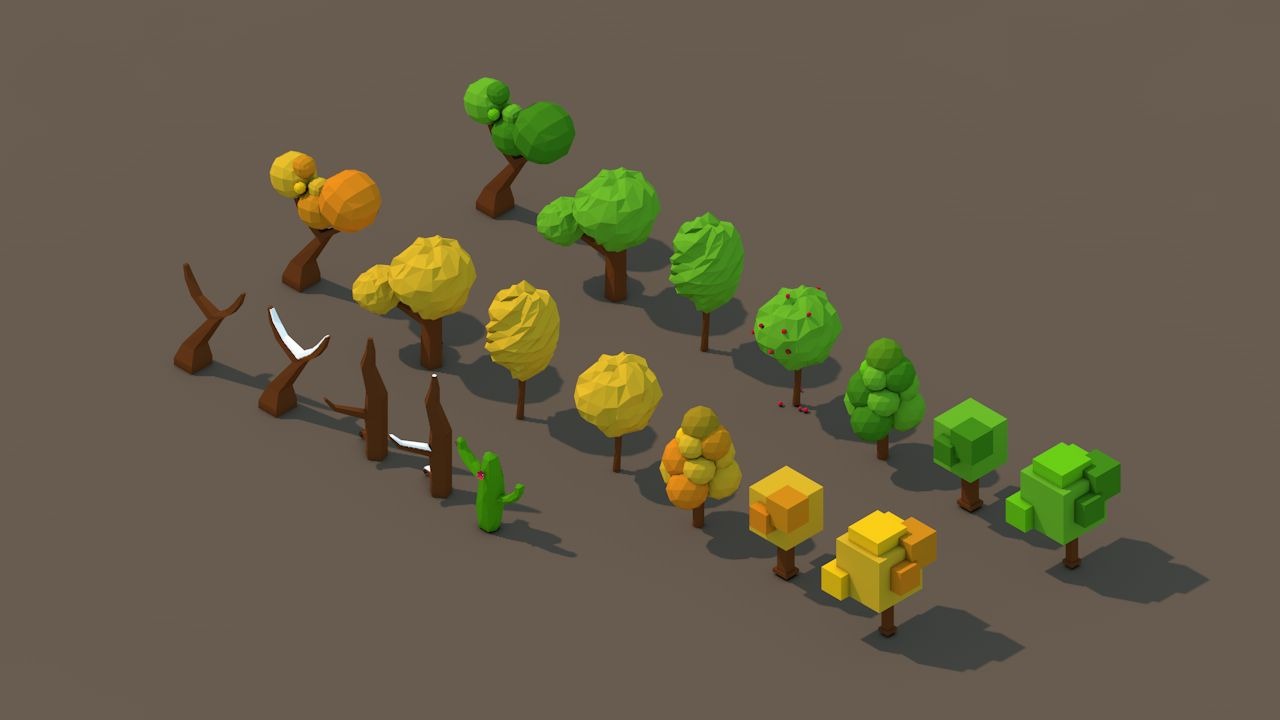
Image credit: Free3D
Bring life and context into your space:
Add furniture that fits the design style
Place decor elements like books, plants, and accessories
Ensure natural placement, avoid perfect symmetry
Use high quality 3D assets for better realism
Popular libraries: CGAxis, Design Connected
Step 5 – Set Up Lighting and Camera
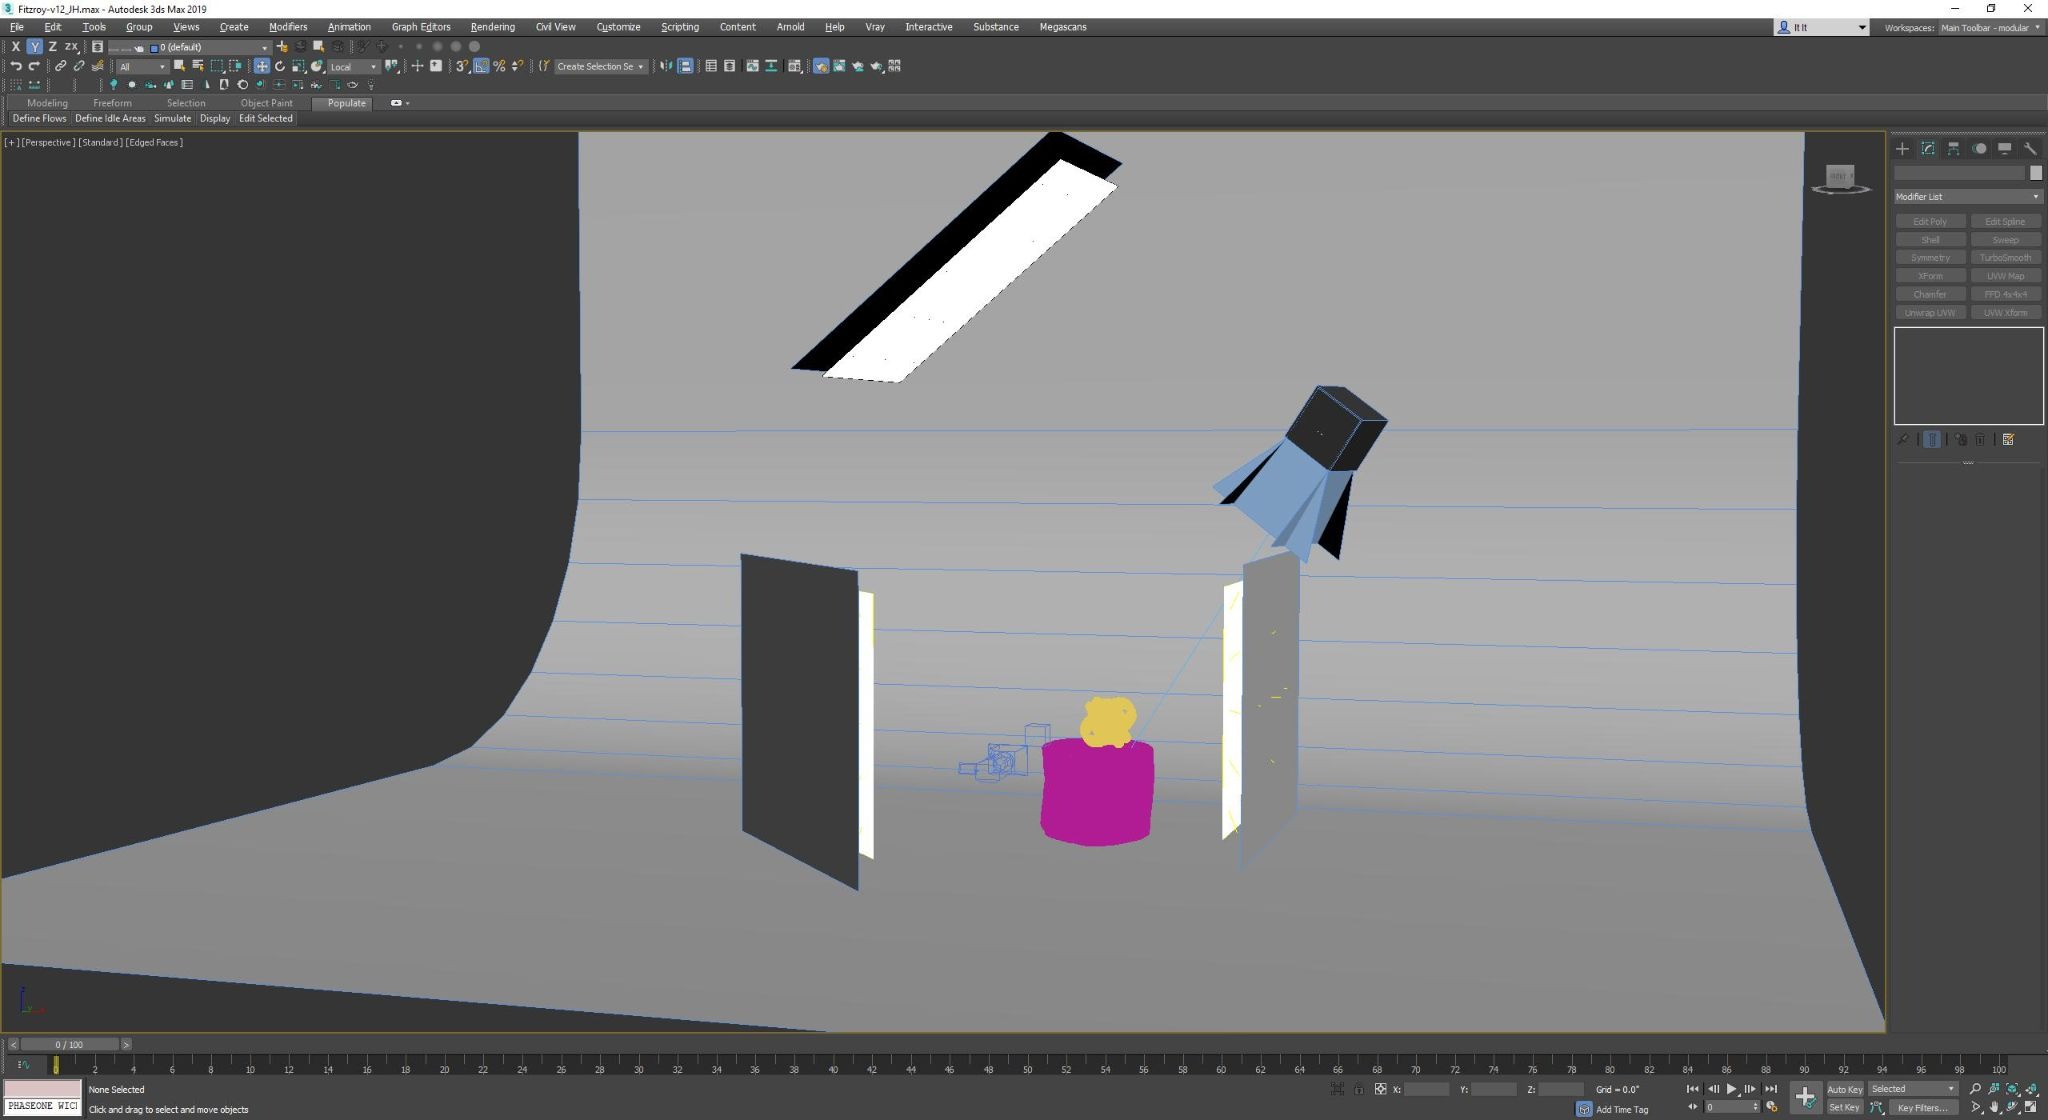
Image credit: Reddit
Lighting and framing define the final visual quality:
Use natural light sources like HDRI or sunlight systems
Add artificial lights such as spots, IES, and lamps
Set camera at realistic height and angle
Use composition techniques like rule of thirds
Balance exposure to avoid overly bright or dark renders
Step 6 – Render and Finalize the Output
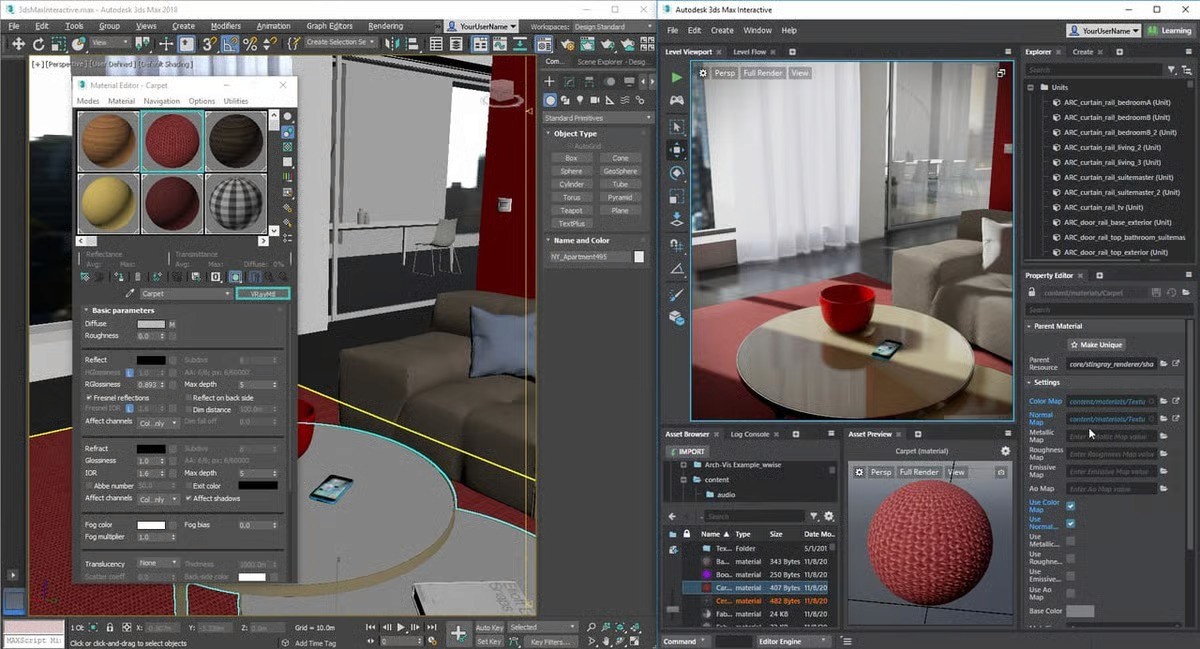
Image credit: All3dp
Convert your scene into a polished final image:
Adjust render settings like samples and resolution
Use render passes for better control in post
Choose the right engine based on your needs
For realism: V-Ray or Corona Renderer
For speed: Lumion
Step 7 – Post Processing and Enhancement
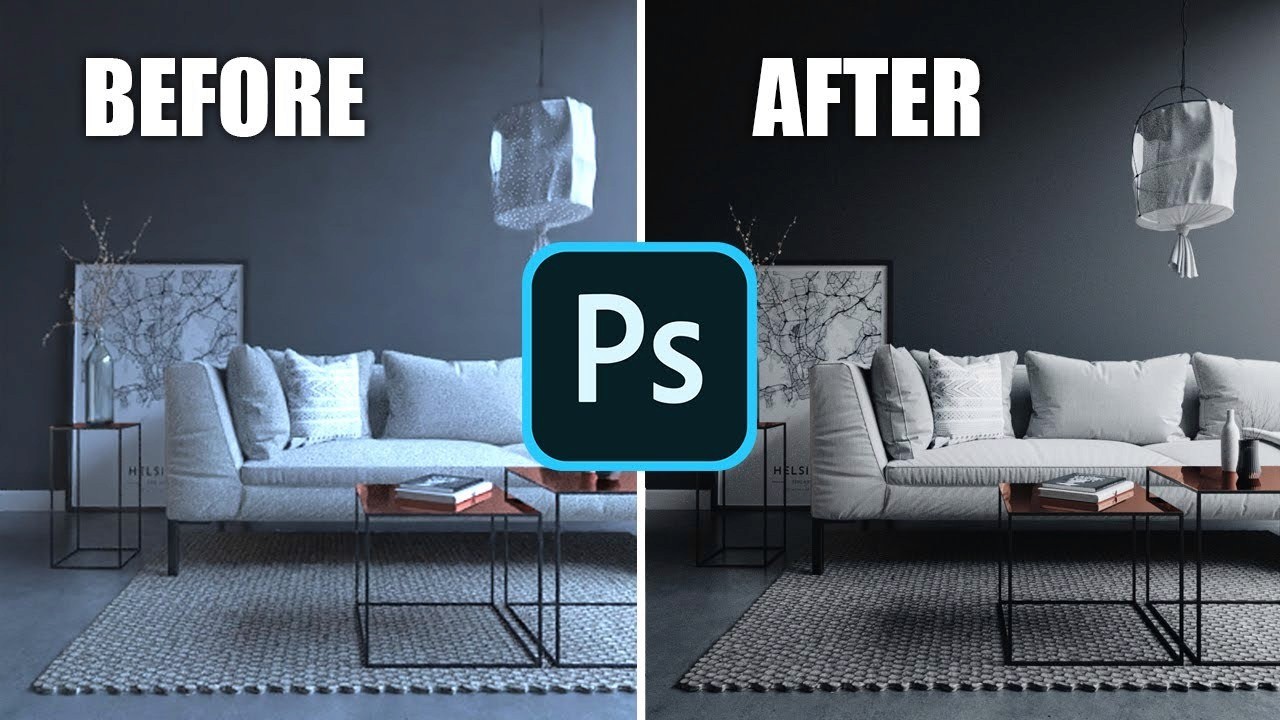
Image credit: YouTube - Arch Viz Artist
Enhance your render to a professional level:
Adjust contrast, brightness, and color balance
Add subtle effects like bloom or vignette
Fix noise or minor imperfections
Sharpen the image for clarity
Use tools like Adobe Photoshop for final polish
This step by step approach is exactly how professionals handle interior rendering, structured, efficient, and focused on realism at every stage.
Conclusion
3D rendering for interior design is a skill that sits right between creativity and technical precision. Once you understand the workflow from concept to final output, it becomes less about complicated tools and more about making the right decisions at each stage. Consistency in modeling, materials, lighting, and composition is what separates an average render from a truly professional one.
As your scenes become more detailed and realistic, rendering can quickly turn into a time consuming process, especially when working with high resolution outputs or tight deadlines.
This is where using a render farm like Flux Render Farm can make a real difference. Instead of waiting hours or even days on a local machine, you can offload your renders and get faster results without compromising quality.
If you want to scale your workflow, handle complex projects, and deliver visuals faster to clients, combining a strong rendering process with the right tools and rendering power is the way forward.

Frequently Asked Questions
What are the Types of 3D Interior Renders?
Still images, 360 panoramas, walkthrough animations, and real time renders are commonly used for presentations and client approvals.
What are the Essential Tools and Software for 3D Rendering?
Modeling tools like Autodesk 3ds Max or SketchUp, render engines like V-Ray or Corona Renderer, and post processing tools like Adobe Photoshop.
What are Common Mistakes to Avoid in 3D Interior Rendering?
Wrong scale, poor lighting, low quality textures, excessive reflections, and weak composition are the most common issues.
What are Tips to Improve Realism in Interior Renders?
Use real world references, add subtle imperfections, balance lighting, use high quality assets, and refine camera composition.
How is AI Used in Interior Rendering Workflow?
AI is used for faster iterations, lighting enhancement, upscaling, and concept generation, best combined with manual workflows.
What are the Hardware Requirements for Smooth Rendering?
A multi core CPU, a capable GPU, 16 to 32 GB RAM, and SSD storage help ensure smooth and efficient rendering performance.

